
De-Essing Vocals: When to Use It, When to Skip It, and How to Avoid Overdoing It

You finally land a vocal take you love. The performance feels right and the tone sounds warm, but then the singer hits a word with an "s" that slices through the whole mix. That sharp, hissy sound is called sibilance, and the tool we use to tame it is a de-esser.
De-essing can rescue a harsh vocal, though it is surprisingly easy to overdo. This guide walks through when to use it, when to skip it, and how to keep your vocals sounding clean and natural.
What Sibilance Is and Why It Happens
Sibilance is the burst of high-frequency energy that comes with consonants like "s," "sh," and "ch." A little of it is normal and helps words stay clear. Too much of it feels sharp and tiring to listen to.
This trouble zone usually sits somewhere between 4 kHz and 9 kHz. The exact spot depends on the voice. Male vocals often peak lower, around 4 to 7 kHz, while female vocals tend to sit higher, around 7 to 9 kHz.
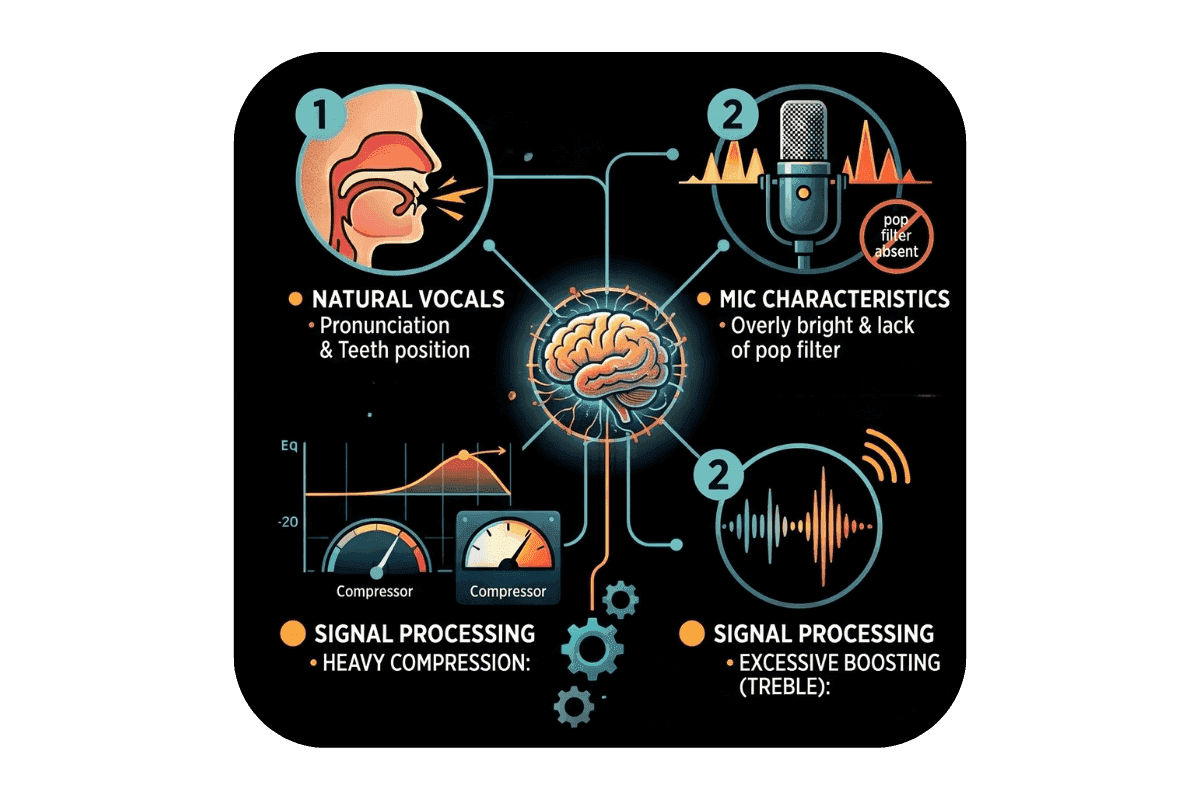
A few things make sibilance worse. Bright condenser microphones can exaggerate it, and singing very close to the mic adds to the effect. Some voices are simply more sibilant than others. Knowing the cause helps you decide how to handle it.
Prevent It at the Source
The best de-essing often happens before you open a single plugin. A cleaner recording gives you far less to fix later.
Start with mic position. Asking the singer to angle slightly off the microphone, rather than singing straight into it, can soften harsh consonants. Moving back a few inches helps too, since being right on the mic boosts the high end.
Microphone choice matters as well. Some bright condensers push the upper frequencies and make sibilance stand out. A smoother mic can be a better match for an already sibilant voice. A pop filter and steady positioning round things out.
Quick tip: If a vocal is badly sibilant, fix it at the source before mixing. Re-recording one harsh line is often faster than fighting it with plugins later.
How to De-Ess Without Overdoing It
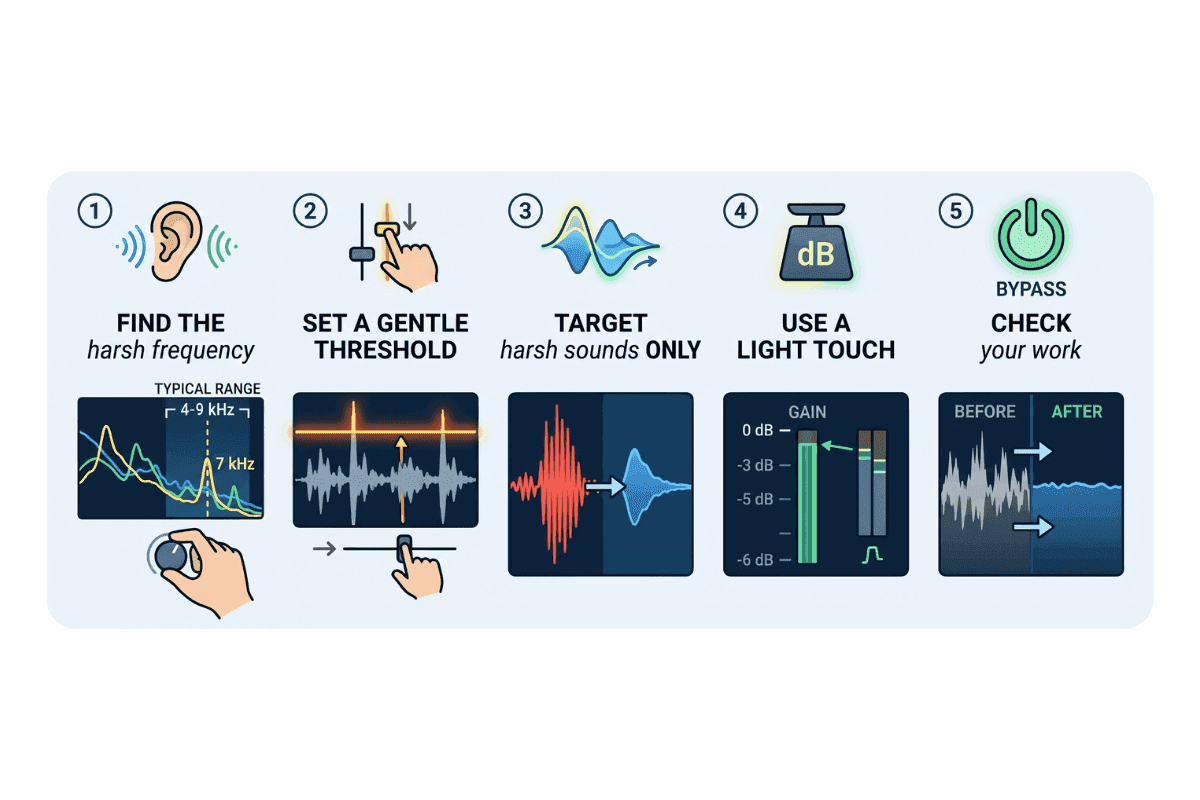
When you do need a de-esser, a careful approach beats a heavy hand. Here is a simple process that keeps things transparent.
- Find the frequency. Sweep through the high range until the harsh sound jumps out, usually between 4 and 9 kHz.
- Set a gentle threshold. Lower it slowly until the de-esser only reacts to the sharpest consonants, not the whole vocal.
- Target the harsh sounds only. You want to tame the "s" and "sh," not dull every word.
- Use a light touch. A few decibels of reduction is often plenty. Push too far and the vocal starts to sound lispy.
- Check your work. Bypass the de-esser and compare. If the vocal sounds muffled, you have gone too far.
You also have a choice of tools, and each one has its strengths.
| Tool | Best for | Trade-off |
|---|---|---|
| Dedicated de-esser | Quick, targeted control of sibilance | Can sound heavy if pushed too hard |
| Dynamic EQ | Precise, transparent results | Takes a little longer to dial in |
| Manual automation or clip gain | Surgical fixes on specific words | Time-consuming on busy vocals |
The goal is to tame the harsh sounds, not erase the singer's character.
When NOT to De-Ess
De-essing is not always the answer, and sometimes the kindest move is to leave the vocal alone.
Some styles rely on bright, airy vocals where a touch of sibilance adds energy and excitement. Strip that away, and the vocal can feel flat. Pop and modern productions often lean into brightness on purpose.
It also helps to ask whether you are facing a mix problem or a recording problem. If every take sounds harsh, the issue may be the mic or the room, and no amount of de-essing fixes that cleanly.
Finally, keep an eye on the balance between brightness and clarity. A vocal needs enough high-end to stay intelligible. Over-de-essing trades a small annoyance for a bigger one, which is a dull and lifeless vocal.
From a Clean Mix to a Polished Master
Once the vocal sits well in the mix, the final stage is mastering. Mastering looks at the whole track rather than one element. It balances the overall tone, sets the loudness, and makes sure the song sounds good on phones, earbuds, and big speakers alike.
This stage is where overall brightness gets balanced across the full song. If your mix leans a little harsh or a little dull after everything is in place, mastering smooths that out at the track level.
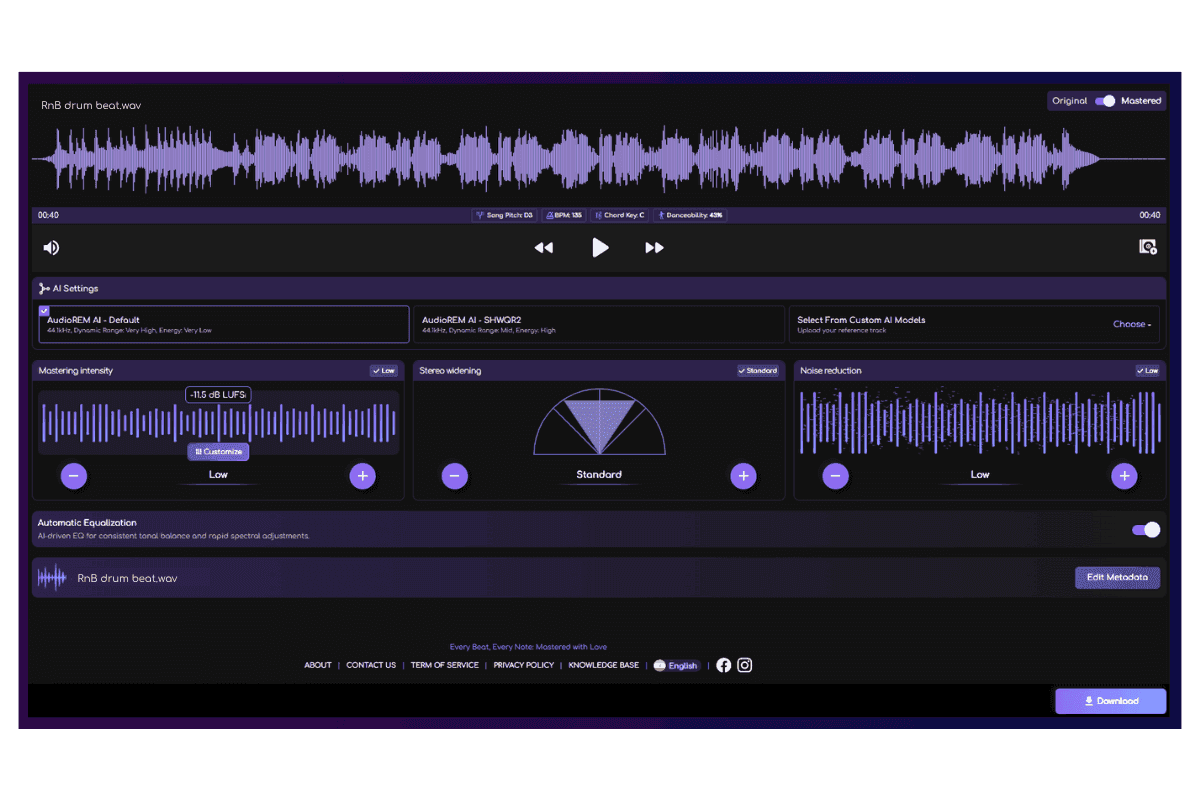
Remasterify handles this final stage. You upload your finished mix, and its AI analyzes the track to apply the right EQ, dynamics, loudness, and stereo balance for the genre. If a little background noise crept into the recording, it can clean that up. It sets your loudness to streaming targets and smooths the overall tone across the whole song. Because it works on the complete stereo mix rather than individual vocals, it is a finishing tool, not a vocal fix. De-essing still belongs in your mix, and mastering simply polishes the result.
Frequently Asked Questions
What is de-essing in music production?
De-essing is a mixing technique that reduces harsh "s," "sh," and "ch" sounds in a vocal, known as sibilance. It tames those sharp bursts of high-frequency energy without dulling the rest of the voice. The tool that does the job is called a de-esser.
How to use a de-esser on vocals?
Start by finding the frequency where the harshness lives, usually between 4 and 9 kHz. Lower the threshold until the de-esser reacts only to the sharpest consonants. Apply a light amount of reduction, then bypass and compare so you know the vocal still sounds natural.
Can I de-ess without a dedicated plugin?
Yes. A dynamic EQ can target the same frequencies with more precision. Manual volume automation or clip gain also works well when only a few words sound harsh.
What dB reduction is normal for de-essing?
Around 3 to 4 dB of gain reduction is normal, and it can rise to about 10 dB for very loud esses. Many engineers work in the 3 to 6 dB range for most vocals. Beyond that, the voice usually starts to sound dull.
Final Thoughts
De-essing is a useful tool when you treat it as a precise fix rather than a default step. Start with a clean recording, target only the harsh consonants, and keep your reductions light. Knowing when to skip it matters just as much as knowing how to use it. When your mix is ready, Remasterify can balance the overall tone and loudness so your finished track translates everywhere.